July 31, 2017
Acer Aspire motherboard manual
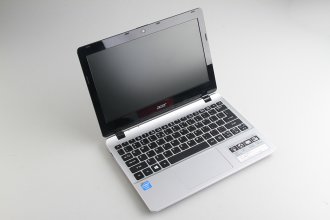
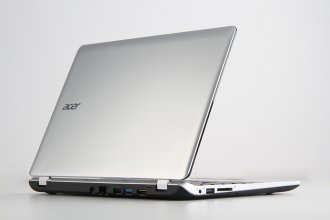 In this guide, I’ll explain how to disassemble Acer Aspire E11 E3-111 to remove and replace the battery, hard drive, WALN, RAM, heat sink and motherboard. Refer to this guide, you can upgrade, repair your Aspire E3-111.
Step 1: Remove the bottom case.
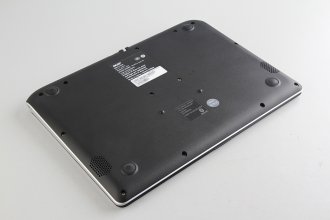
- Remove all screws from the bottom case.
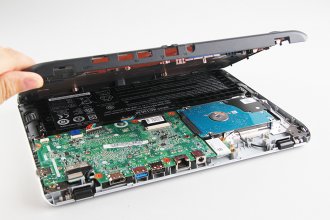
- Pry up and remove the bottom case.
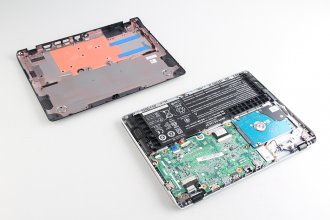
- Under the case, you can get access to the battery, hard drive, speakers and wireless card.
- The bottom case has been removed, but we do not find the cooling fan.
Step 2: Remove the battery.
- The Acer Aspire E11 E3-111 using a 11.4v, 2640mah, 30wh Li-ion battery. Acer part number: AC13C34.
- Disconnect the battery connector from motherboard and remove two screws securing the battery.
- The battery has been removed.
 Step 3: Remove the hard drive.
- Remove the hard drive.
- Acer Aspire E3-111 with a Seagate 500GB 5400RPM momentus think hard drive.
Step 4: Remove the wireless card.
- Disconnect two antenna cables and remove one screw securing the wireless card. You can remove the wireless card.
- Qualcomm atheros QCWB335 Wireless LAN
Step 5: Remove the motherboard.
- Disconnect four cables from motherboard and remove three screws securing the motherboard.
- LCD cable
- Keyboard cable
- Touchpad cable
- Speakers cable
- Acer Aspire E11 E3-111’s palm rest, replace the keyboard is not very easy, you must disassemble the whole laptop.
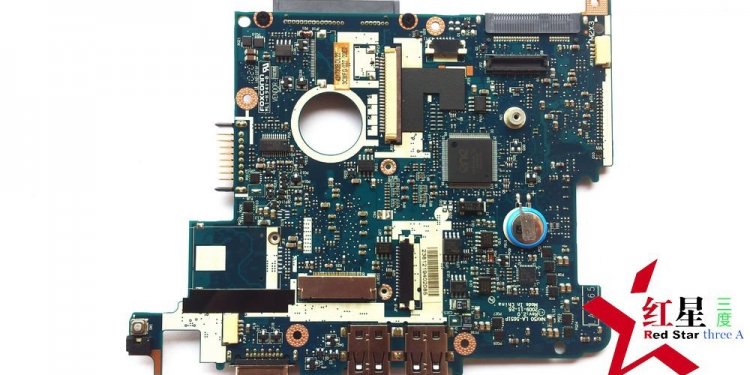
- Acer Aspire E3-111 motherboard
- On the other side of the motherboard, you can find the RAM, heat sink, but no cooling fan. The heat sink is very large.
Step 6: Remove the RAM.
- Acer Aspire E11 E3-111 comes with a Kingston 4GB DDR3L 1600MHz RAM.
