September 14, 2019

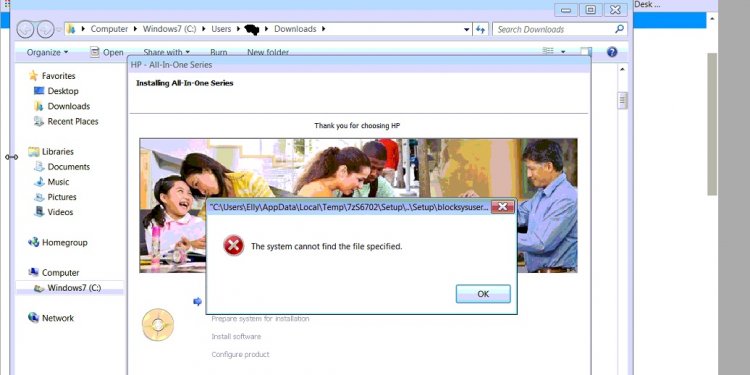
HP software Installer
When you are prompted to connect the USB cable during software installation, use the Device Manager to manually select the printer driver. Follow these steps to open the Device Manager and select the printer driver to complete the software installation.
- On the Windows taskbar, click the Windows icon, and then click Control Panel. The Windows Control Panel opens.
- Click System and Maintenance, and then click Device Manager. The Device Manager window opens.
- Click View, and then select Show hidden devices on the drop-down menu. A list displays in the Device Manager window.
- Click the plus sign next to Printers to expand the listing. From the listing, right-click HP Universal printing PCL_5 (or PCL_6 depending on the version), and then click Update Driver Software. The Update Driver Software screen displays.
- From the Update Driver Software screen, click Browse my computer for driver software, and then click Let me pick from a list of drivers on my computer. The Add Printer Wizard screen displays.
- From the Add Printer Wizard screen, select your printer driver from the list, and then click Next. The driver installation process begins.
note:
Do not select the Universal Printer driver on the Add Printer Wizard screen. Make sure to select the printer that you are trying to install.
- When the driver software installation is complete, click Close to close the Update Driver Software window. The original software installer window displays, and the software installation continues automatically.
- When your software installation is complete, click Finish.


